Wednesday, November 11, 2015

FLUIDS CHANGE

To start off, oil changes are pretty simple. The Guzzi has three of them, but they are still within the reach of most people. These steps will walk you through the CARC, Transmission, and Engine. Make sure you take the bike on a nice ride to get all three oils fairly hot so they flow well into a drain pan.

CARC OIL
The CARC is the shaft drive oil end. This is suggested to be serviced around every 6000 miles. First step- locate some 80W-90 gear oil. I use the suggested ENI 80W-90, but this isn't anything special and can be any that meets spec (just about all of them). Check your owners manual-
AGIP GEAR SAE 80 W 90 (AGIP is now ENI)
Specifications: API GL-4

Clean the filler before you open it...compressed air works well, brake cleaner if it is grungy:

The drain plug is located under the CARC and can be removed with a 17mm wrench. It is inconviently adjacent to a plastic brake line clip and may require an open end wrench. Inspect the drain plug magnet for anything that may require close inspection. Some fuzz or small metal bits is normal, large chunks or increasing levels of junk is problematic.  

GEARBOX OIL
The gearbox (transmission) is also simple and changed every 6000 miles. 
Large hex for the filler shown removed here, and the same 17mm drain plug being pointed at below with the pick tool. The oil will drain all over the center stand bracket...I usually just clean it up later as it usually takes less time than rigging up something to prevent that from occurring. 
Inspect/clean the magnet again.

The oil specified is ENI 85W-90... Why not just use the 80-90 of the CARC? The specs are slightly different and I just do as I'm told... Any API GL-5 spec should do.
AGIP GEAR MG/S SAE 85 W-90 (AGIP is now ENI)
Specifications: API GL-5

Filling the gearbox isn't fun without a special funnel. I don't have one of those, so I use an old school oil can. It helps to prevent adding too much and covering your work bench with expensive ENI oil...


 ENGINE OIL
Engine oil is like any other bike. Drain, replace filter, refill...every 6000 miles.
Drain oil, inspect and clean magnet. Compressing the rear suspension or putting the bike on the center stand while weighing the rear can help clear out the oil pan faster.

The correct tools are helpful when the oil filter is recessed up in the oil pan. Buying a filter wrench like this one from MG cycle is helpful (LINKY). It's $9...you need one.

Fish out all the plugs and wrenches out of the drain pan...

I always check the oil filter base for any left behind o-rings or other funk that shouldn't be up there. It's a good time to clean the oil pan around the filter. A mirror helps.

I always fill the filter with oil and use some of it to film the gasket. You rarely have to top off the oil when you do this.

Pull the dip stick, use a 1" socket to remove the dip stick plug. This makes filling the engine oil MUCH easier. 

Filling the engine oil is easy with an extended funnel. The crash bars are somewhat in the way, but it takes longer to remove them than just taking your time. It is very important to use the suggested 10W-60 oil suggested by Guzzi. This is an air cooled bike that runs hot.
ENI i-RIDE PG RACING 10W-60
SAE 10W - 60. As an alternative to recommended fluids, use top branded oils with performances that meet or exceed the
requirements of CCMC G-4 API. SG specifications.

Oil Filter: UFI  2328700 (LINKY)
ENI 10W-60 by the case (LINKY)
ENI 10W-60 by the liter (LINKY)
ENI 80W-90 by the liter (LINKY)
ENI 85W-90 by the liter (LINKY)


Tuesday, October 6, 2015

Large Tool Tube Mount

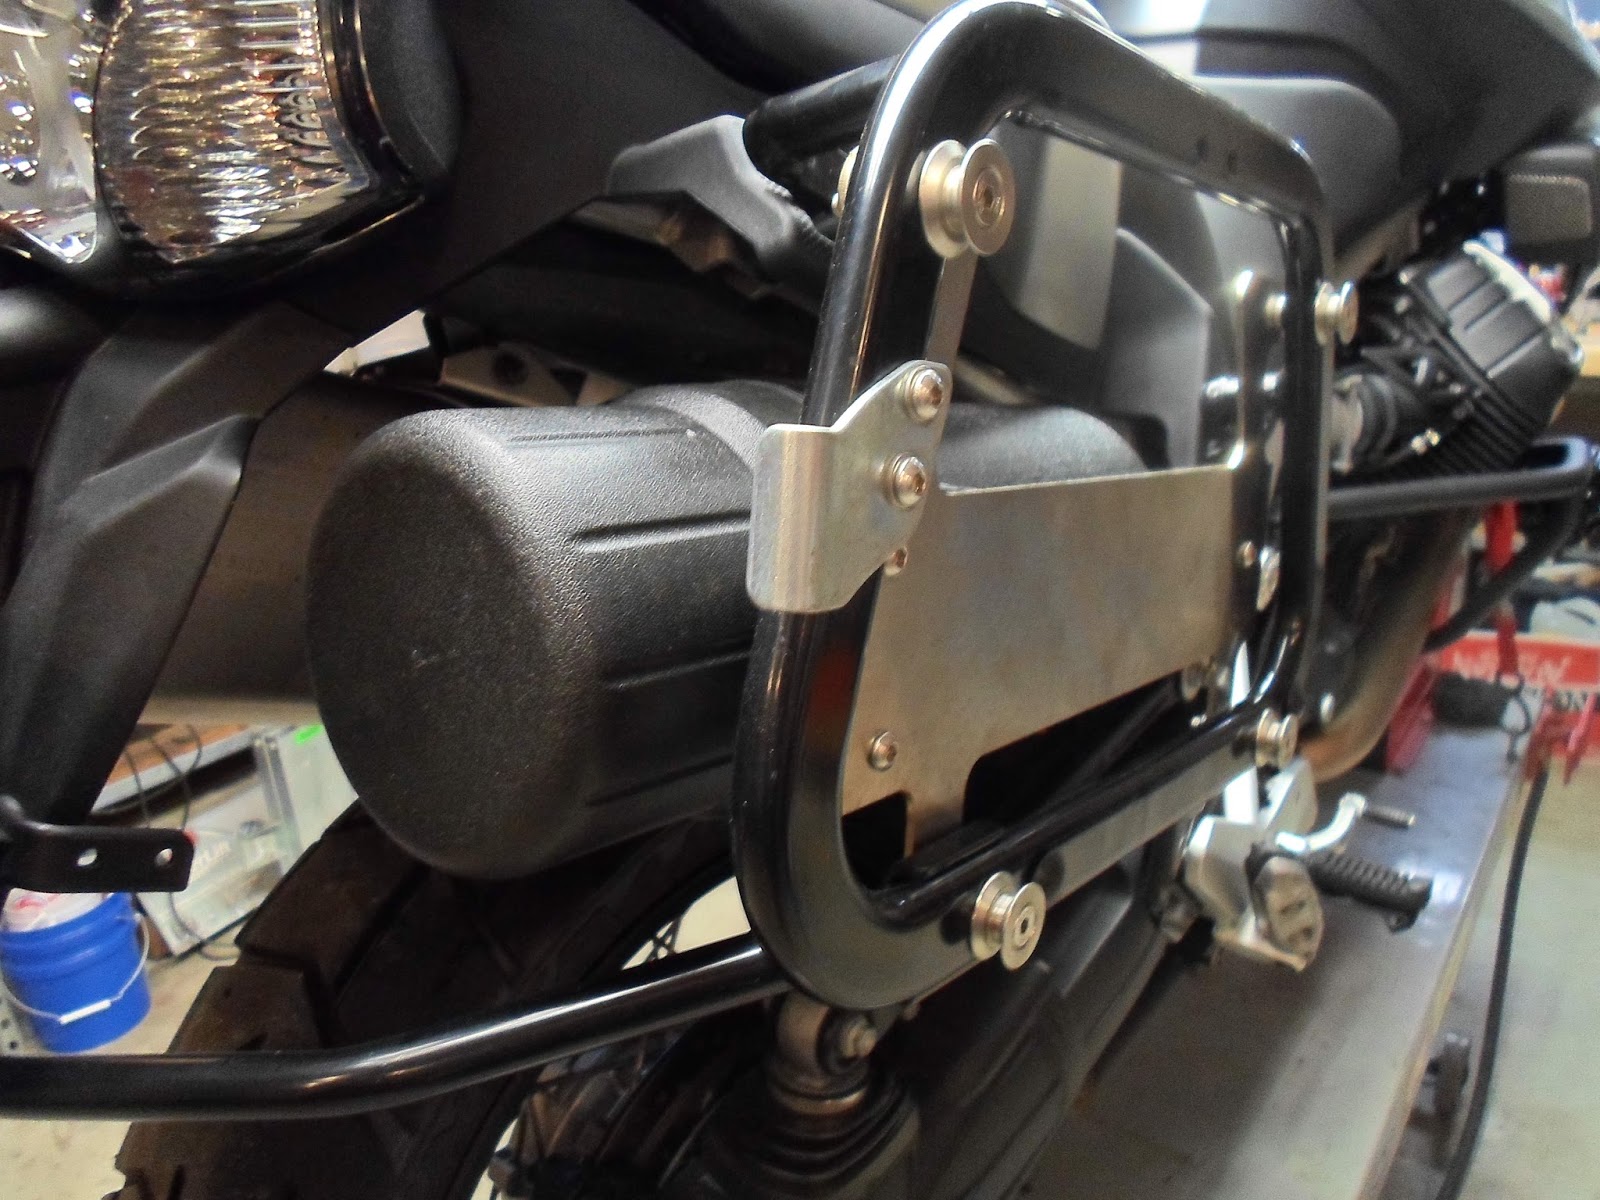
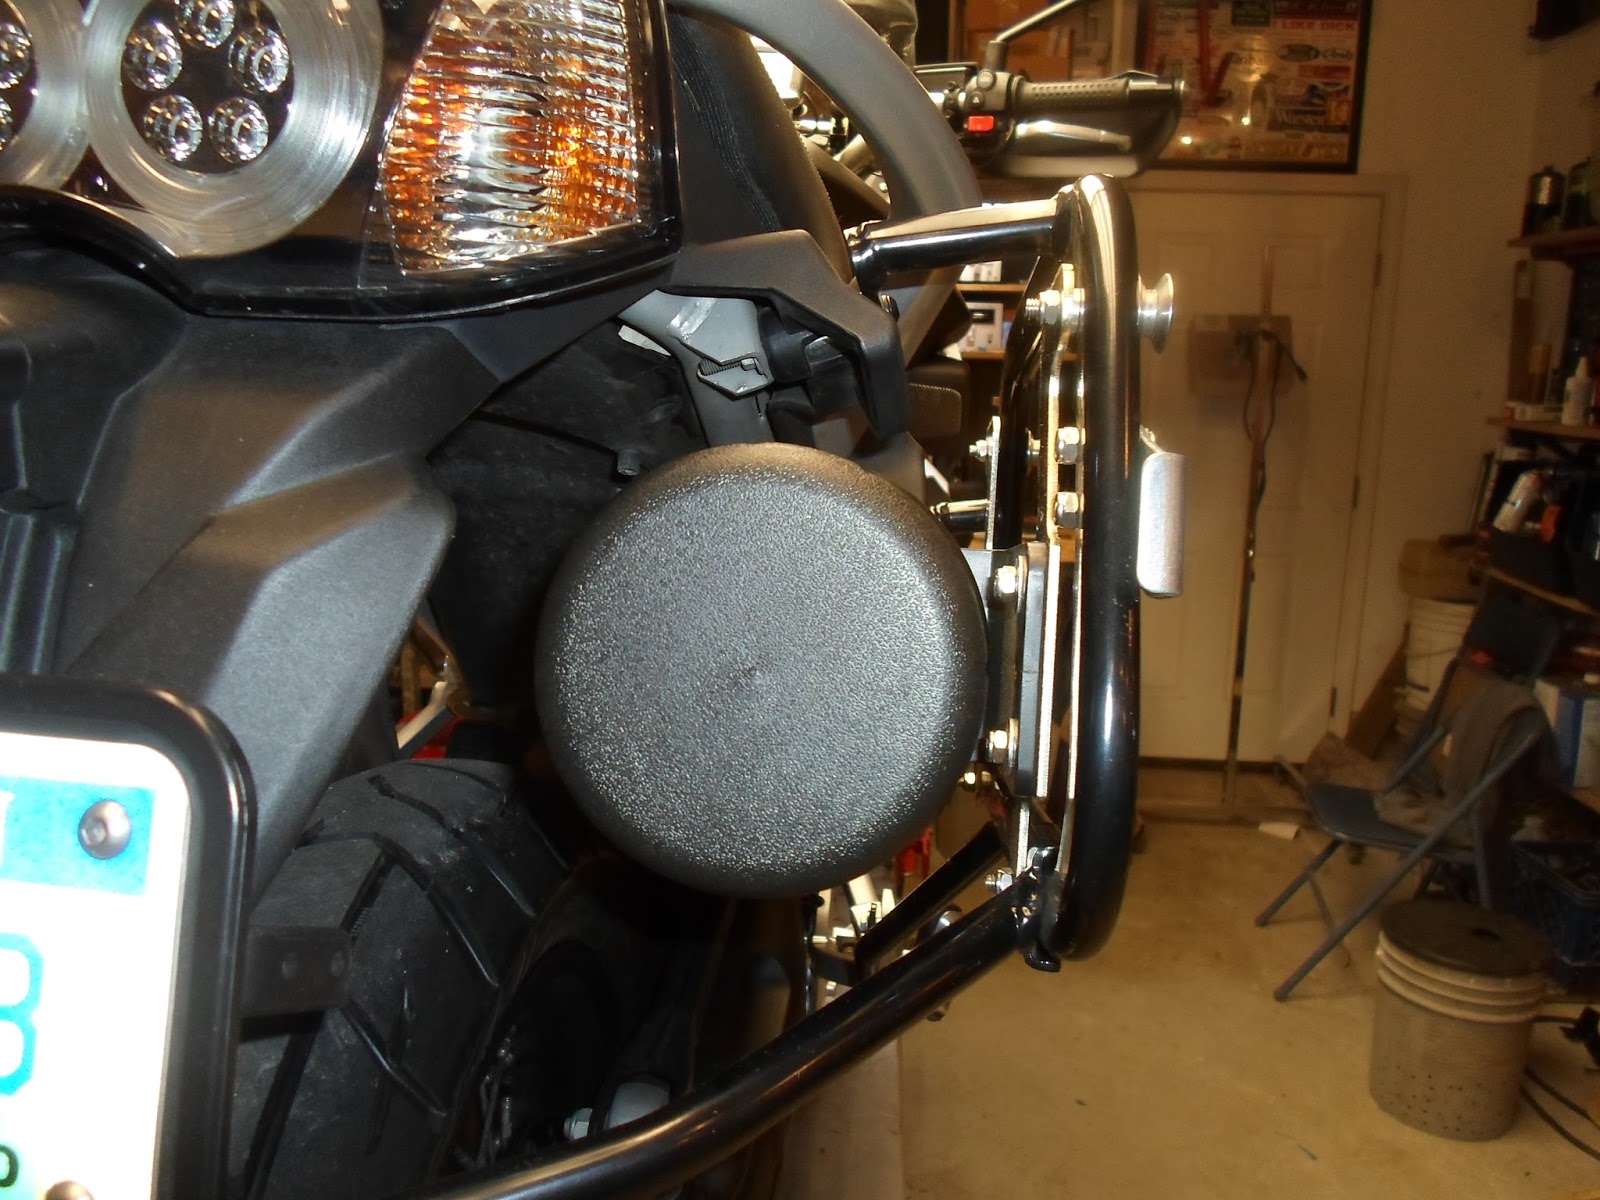
The large tool tube serves a useful purpose in filling the gap on the right side of the Stelvio. The stock muffler takes up space on the left side with a large void on the right that is easily filled with the large tool tube option. 

AF1 stocks this item (LINKY)

All of the parts in the above kit can be sourced short of the stainless laser cut mount- The tool tube can be purchased at The Tool Tube (LINKY)
Alternative tube: Twisted Throttle (LINKY)

The hardware can be had from McMaster Carr from the following list. It's a bit overkill for what it's doing, but I changed out all my hardware to stainless on my racks (including the latch hardware). Substitute as your budget dictates.
Qty below is to replace hardware on both racks with stainless (spools and latch)
(5) Spool flat head socket cap screw, cross bar - M6 x 1 x 40mm  #92125A248 
(3) Spool flat head socket cap screw, solo spools - M6 x 1 x 35mm #92125A246
(3) Spacer between mount and rack - M6 x 3mm thick x 13mm OD #92871A740
(4) Latch mount button head cap screw, not required - M6 x 1 x 25mm #92095A242
(3) Tube mount button head cap screw - M6 x 1 x 16mm #92095A238
(3) Tube mount flat washers - M6 x 18mm #91116A150
(15) Nylock nut for all M6 fasteners - M6 x 1 #93625A250

A delivery from the laser cutter, some measurements, and drill the tool tube holes. The rack mount holes were in the CAD file that went to the laser cutter. The production version (if there is demand) will have all holes pre-cut. 

Mounting the tube with some button head fasteners, washers, and nylock nuts.
 The remaining hardware replaces the black oxide bolts for the spools and (3) of the bolts get spacers to offset the bar that wraps around to the other side. This keeps the mount square to the rack.


 About a 15 minute installation...

 Plenty of room all round the tube.

Enough room for an air compressor, tire repair, phone chargers, or camping items. 

 Spools, spacers, nylocks, and now all stainless hardware.

Tuesday, September 8, 2015

SPARK PLUG CAP REPLACEMEMT

Some Stelvio owners have suffered from faulty spark plug caps. The symptoms are one cylinder goes dead from lack of spark, but the fuel is still being supplied. The fuel then is burnt in the hot catalytic converter which makes it hotter and significantly shortens it's life. This is not a good situation to be in and is best shut down ASAP.

The solution and fix is cheap and easy. A pair of NGK spark plug caps will save the day. These should at least be carried around with any owner in case a plug cap gives you grief far from home. NGK #SB05E

 Replacing the caps is straightforward. Pop the Guzzi logo from the 8V cover-

Remove hex screw and spark plug wire cover-

The careful way to remove the spark plug wire if you don't intend on replacing-

The original cap cuts off very easy and could be done on the side of the road-

Original rubber boot pulled from the spark plug wire/insulator-

 Unscrew insulator from brass stud crimped on wire end-

Use a knife to cut through wire near the crimp end. Use wire cutters to finish-

Place NGK boot on wire, twist NGK cap as far into the wire as it will go-

Slide NGK boot over cap to seal-

 Firmly place over spark plug, replace cover and logo- DONE!

Thursday, August 6, 2015

FRONT TIRE REPLACEMENT

The process of changing a front tire is nearly as straightforward as the rear, but adds a few steps. The center stand will be required along with some kind of support under the skid plate. 

The lift table with this size bike is more difficult than it's worth. You can back the bike into the wheel chock and jack up the front. The center stand eliminates this need and makes the process easy. I use a Handy Industries scissor jack under the skid plate to keep the front off the ground. I run the jack up so the rear tire is touching the ground to keep the bike stable. Be careful as the center stand is not very wide and the bike has the possibility of falling over. 

I was able to get 15k miles out of the front tire and the calipers were in need of a cleaning.

Removing the mud guard for cleaning everything and more room to work...

Remove the axle nut and nearly remove the (4) pinch bolts. Tap the axle out while supporting the tire.

I remove the caliper pins and pads to ultrasonic soak the calipers themselves. All the hardware from removing the tire goes into the ultrasonic cleaner as well to remove all brake dust funk.

I had an issue with some slow speed brake pulsing due to some pitting at the same point on both rotors. I removed, roughed up all brake surfaces, and offset the pitted spot to help reduce the pulsing. This allowed a good cleaning of the spokes and brake discs. Be aware of the directional arrow on each disc and the ABS wheel. 
25NM torque. 

 Re-install axle, torque nut to 50NM, tighten pinch bolts CAREFULLY to ONLY 10NM. 
DO NOT RUIN YOUR FORK TUBES BY OVER TIGHTENING THE PINCH BOLTS!
Reinstall the assembled calipers at 25 NM.


Mudguard back in place, ABS wire re-attached to the brake line on right side, test ride to verify install. 

Wednesday, August 5, 2015

REAR TIRE REPLACEMENT


The process of changing a tire is straightforward on the Stelvio due to the sidestand and single sided swingarm. Not too difficult, but the process is shown below.


I perform all of my work on a motorcycle lift table. This holds the front wheel steady, but prevents the use of the center stand. Using a small jack carefully on the suspension pivot allows the stand to be used while on the table. This job is rated as a one beer (cider) job.

I also tie the forks to help stabilize the bike on the table. Running a 1" pipe through the table base at floor level can also add some lateral support to prevent table flip-over if performing some more involved work.


Prior to removing the wheel, the caliper needs to come off first. These are (2) 13mm bolts to easily slide the caliper out of the way.


I check the brake pads for wear (15k miles here), remove the pads, clean the caliper, re-grease the floating pins.


Prior to reassembly, the caliper (minus pads) goes for an ultrasonic soak. This does a fantastic job of cleaning the entire caliper. Solvent temp is raised to ~100-120 deg F by a stainless fish tank heater prior to a 5-10 minute ultrasonic run.


Check the fluid level and look for any water contamination in the CARC oil as long as we are in here...


Buttoned up and ready for the front tire...


Monday, July 13, 2015

EXHAUST GASKET REPLACEMENT


Somewhat common issue that some NTX owners are finding- blowing out exhaust gaskets on the connection to the cross over pipe. 

Due to the engine vibration and heat cycling of the pipes, all owners should be prepared to deal with this, usually at the worst time. Running with a blown gasket isn't a problem short term, but the noise is not always pleasant to the rider or people around the motorcycle.  Getting in front of this is best handled by checking the two crossover clamps on a regular basis as well as the crossover to muffler clamp. The two joints in the first photo are the most problematic.

Parts needed:
Exhaust Gasket (Cross over x2) Guzzi #GU06123500
AF1 racing ($26)
MG cycle ($23)
Kawasaki part will also work ($12)- #11060-1330

Exhaust Gasket (Head to pipe x2- not usually needed) Guzzi #976376
AF1 racing ($6)

Exhuast Gasket (Cross over to Muffler x1- not usually needed) Guzzi #GU05128230
AF1 racing ($40)

MG cycle ($39)

Below is viewed after you are aware of the problem. The problem begins fairly quickly (noise) and the gasket will be gone in less than a mile of riding.

The gasket is not found after pulling the pipe apart. 
The right side gasket was this problem. This procedure can be used for both sides.
Remove O2 sensor- This will make getting the pipe fully out much easier. Follow the connector from the O2 sensor, unplug connector, re-route wire, and remove from head pipe.


Remove the two nuts/washers that retain the headpipe. Be careful not to damage the head exhaust gasket by pulling straight out. Be careful not to damage the gasket on the studs or frame.


The cleaned up pipe, O2 sensor removed, and new gasket. The cross over pipe may need to have the female section opened up to allow the gasket to fit. I used an adjustable wrench to carefully open up all four flanges evenly. The gasket should slip in with little drama. The clamp should go on next prior to placing the pipe back in. 


Get everything in line, tighten the head retainer (make sure the retainer is in the correct direction- see other side), and tighten the exhaust clamp last. Place the O2 sensor back in place, re-route the wire, replace connector, and replace any tie-wraps that were removed. The O2 wire runs by some suspension parts, so be aware of any interference. 

Saturday, March 15, 2014

Replacement locks for top and side cases

The locks that come standard on the SWM cases (Guzzi standard equipment) are quite bad. These are single bit (single sided) type that have been upgraded to a newer double bit type. The locks are MUCH easier to open and now I have one key that operates the side and top cases.

Thanks to Peter Y for the tip on Wild Guzzi


Twisted Throttle (US importer of SWM equipment) sells an upgraded lock type for the Guzzi side cases. Part number ALK.00.165.16302 for the 6 lock set (including topcase). 

The photos on the web page show the older type, but the upgraded units are what I received. $26 +shipping includes 2 keys, new retention clips, and 6 locks:


Easy to install by prying the old clips off, inserting new lock, and re-inserting the clips.

Old keys/locks on the left, new double bit keys and locks on the right. Major improvement.


The update latch style is shown below and the updated locks should be able to be used as-is:


Owners of the older style latches shown below have mentioned that transferring the older dog-legged 'latch' from the original locks to the new was required for proper operation, but do function once performed: